Before I could start building the form, I had to make something for the pan to sit on. It couldn't just rest on the frame, since the battery still sticks up a bit higher than the frame rails. So I bought a length of steel square stock and cut it to rest on top. It worked out nicely, since I could put them right in line with the bolt holes for the battery tray. With a few holes drilled into the steel, and some longer bolts, the whole thing came together.
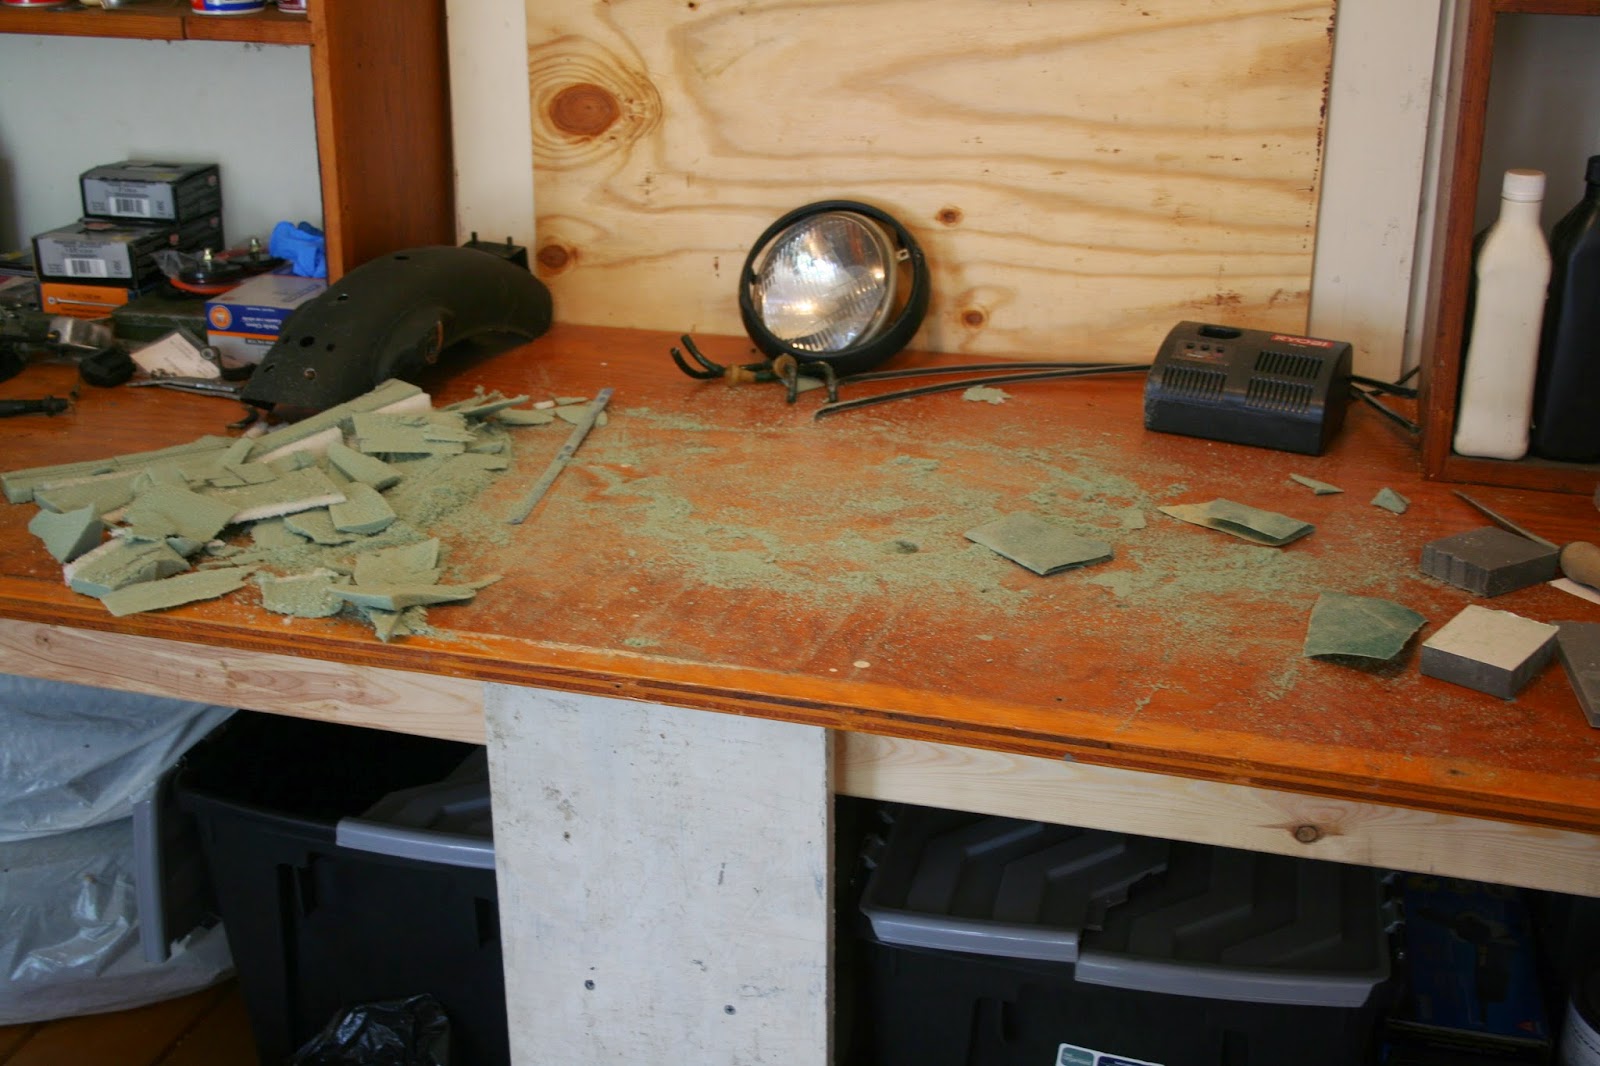
For the seat mold, I just used a bunch of those green foam blocks that people usually stuff fake flowers into. Stack/glue them to a styrofoam board in the approximate shape you want, and let it dry. Then stick it on the bike and use a marker to draw a profile of the shape you want the seat to be. Then start cutting. I used a hacksaw blade, but the are a bunch of different things you could cut it with. Once you have the shape a bit more exact, get some sand paper and start smoothing it out and fine tuning the shape. It's VERY messy, so just be prepared for that.
Next up, lots and lots of masking tape. Cover that baby up. I wanted the seat area to be slightly indented, so I used a bit of rope around the edge and taped over it.
Next, apply some good, old-fashioned carnuba wax to the whole thing. Now you can apply your fiberglass. I'm not going to get into at the specifics of how to do this, since you can find better resources on YouTube. BUT, I will tell you to ensure that you get the fiberglass cloth and not the the loose fiberglass mat. I made the mistake of getting the loose stuff for my first layer, which was a freakin disaster. I'm happy with the overall finished product since it was my first time, but it there would have been waaaaay less sanding involved had I used the cloth at the beginning. Lesson learned. I didn't take a ton of photos since this process is extremely (or at least is was for me) messy.


No comments:
Post a Comment