Saturday, October 4, 2014

On to Paint

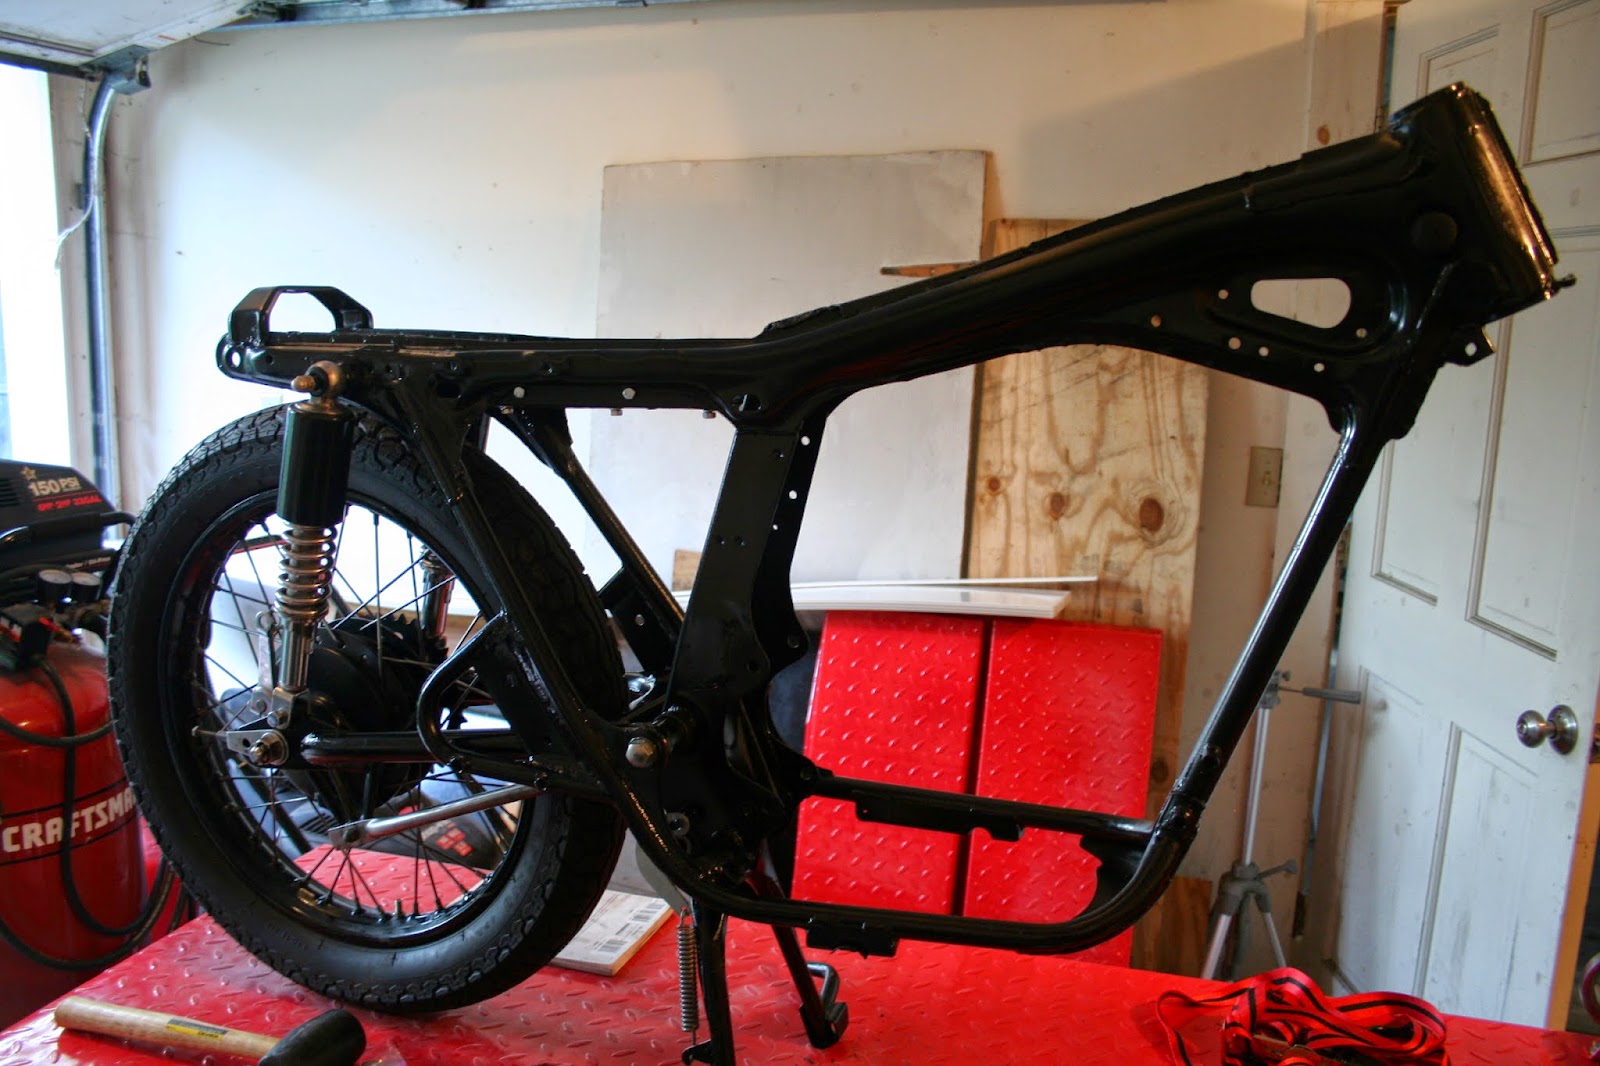
Let me start by saying that I really liked the idea of using a paint gun to do this part of the project. The idea. It was a good opportunity to learn something new, just like the rest of this process has been. But I hated it. I hated it to the point that I went back to the auto parts store and got an aerosol can of the same industrial black enamel so that I could finish the frame. Maybe I gave up on it too quickly. But a couple of hours messing with it and doing a shitty job was enough for me. Even with all their faults, rattle cans are my friend.

The "kill room"

Once all the parts were painted, it was time for re-assembly! As fun as it was to take the bike apart initially, putting it all back together with new and/or newly painted parts was very rewarding. 


Getting all of the electrical components installed was a bit more of a challenge that putting in the hard parts.  I got the motor in without scratching the frame too badly. Since the battery box was moved higher than the stock location, I had to make a longer ground wire. Most of the wiring went in without a fight, though it was a tight fit in the battery tray. An access hole needed to be cut at the front of the tray for the wiring harness and ground wire to be snaked through. That's all I have time for right now. More assembly info to follow.

Friday, October 3, 2014

Operation: Seat Pan

As promised, here is the next part of the CB200 saga. I did a lot of debating early on about how I wanted to handle the seat. In the end, fiberglass was the winner. I watched a video that the guys at Dime City Cycles posted about this whole process and went to town.

Before I could start building the form, I had to make something for the pan to sit on. It couldn't just rest on the frame, since the battery still sticks up a bit higher than the frame rails. So I bought a length of steel square stock and cut it to rest on top. It worked out nicely, since I could put them right in line with the bolt holes for the battery tray. With a few holes drilled into the steel, and some longer bolts, the whole thing came together.


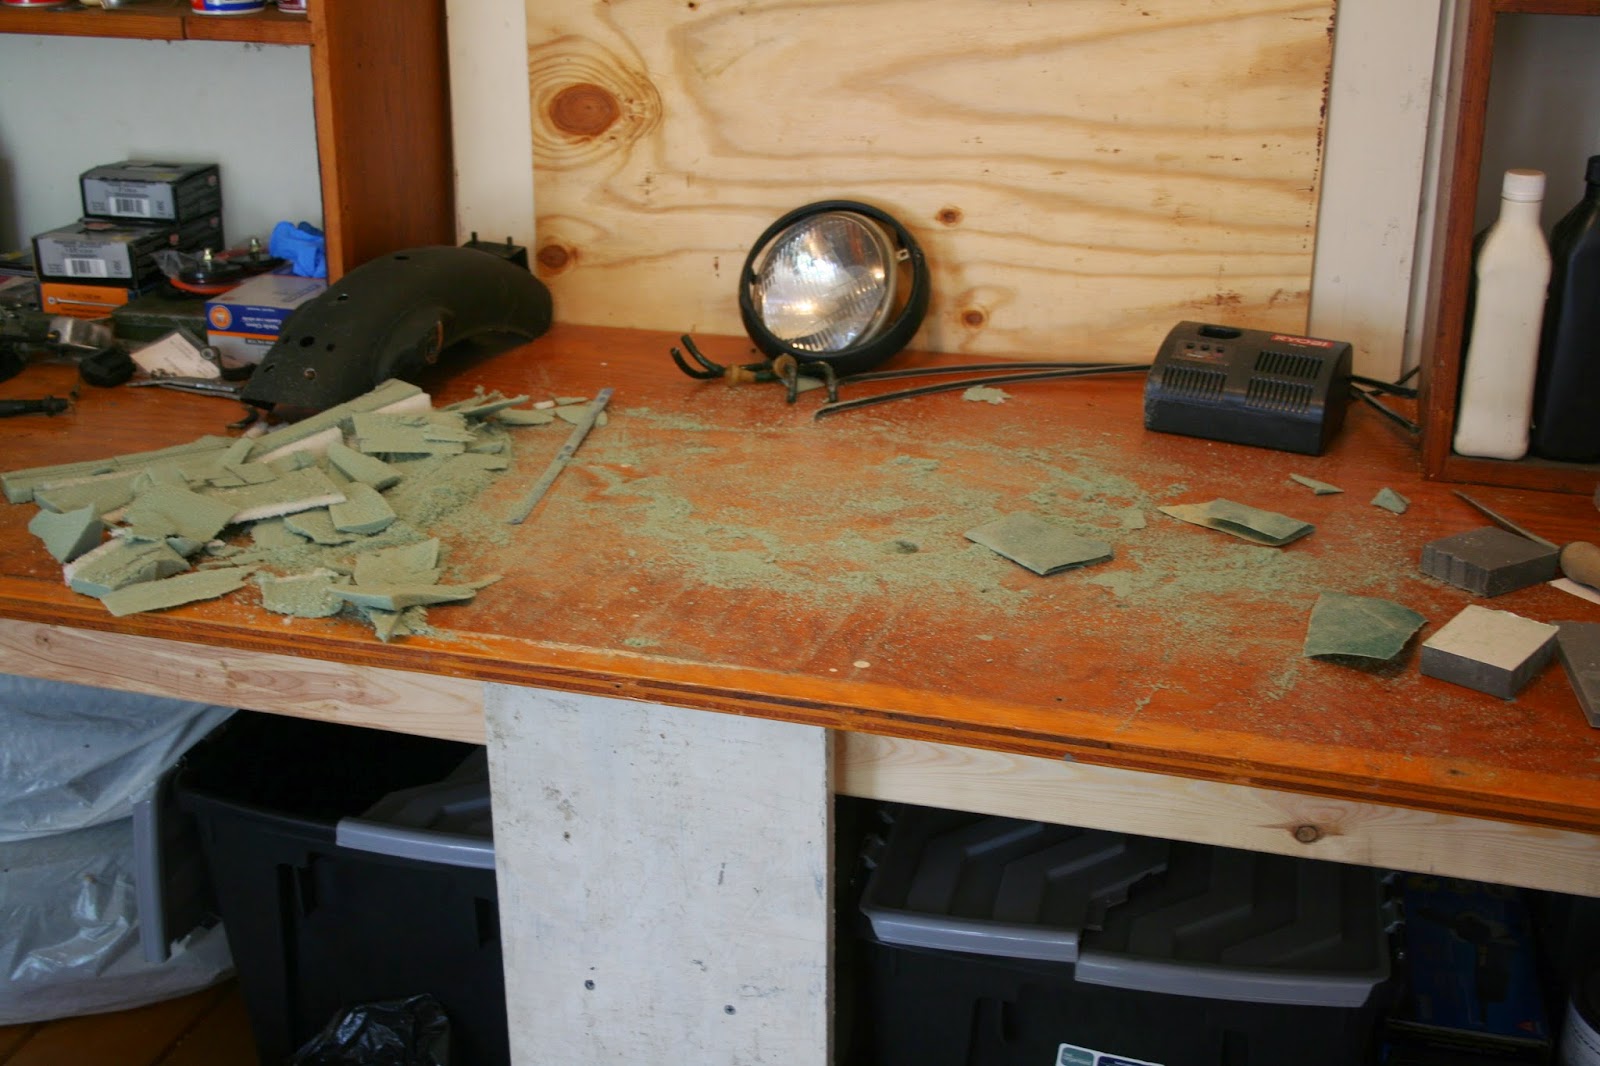
For the seat mold, I just used a bunch of those green foam blocks that people usually stuff fake flowers into. Stack/glue them to a styrofoam board in the approximate shape you want, and let it dry. Then stick it on the bike and use a marker to draw a profile of the shape you want the seat to be. Then start cutting. I used a hacksaw blade, but the are a bunch of different things you could cut it with. Once you have the  shape a bit more exact, get some sand paper and start smoothing it out and fine tuning the shape. It's VERY messy, so just be prepared for that.


Next up, lots and lots of masking tape. Cover that baby up. I wanted the seat area to be slightly indented, so I used a bit of rope around the edge and taped over it.


Next, apply some good, old-fashioned carnuba wax to the whole thing. Now you can apply your fiberglass. I'm not going to get into at the specifics of how to do this, since you can find better resources on YouTube. BUT, I will tell you to ensure that you get the fiberglass cloth and not the the loose fiberglass mat. I made the mistake of getting the loose stuff for my first layer, which was a freakin disaster. I'm happy with the overall finished product since it was my first time, but it there would have been waaaaay less sanding involved had I used the cloth at the beginning. Lesson learned. I didn't take a ton of photos since this process is extremely (or at least is was for me) messy.


And there you have it! After the first layer, remove the mold and just build up a few layers. I think I did a total of 4. It's a small seat, and it has good support, so I didn't thing that it would need more than that. Lets's take a break from breathing resin fumes, and move on to building a paint "kill room" that Dexter would be proud of. Until next time!

Thursday, October 2, 2014

Inches from the finish line...

Ok, there are a lot of updates since the last post. At this point, the bike is only in need of a seat cover and some carb adjustments. However, we'll step back in time and document some of the other work that had to be done.

I really wanted to get rid of the giant battery and battery box, so I bought a Shorai lithium battery, which is a fraction of the size and weight of the original. You can also mount it in any direction, which is great for these kind of projects. The battery was small enough that I could fit it in between the frame, so I just needed to make a tray that would house it (and the other electronics). I made it out of aluminum. It would have been great to have it welded together, but because of the design and the shape of the frame, I actually had to put it together in place. I was able to reuse the pre-existing threaded holes for the old battery box to clamp the tray in place. The result is a nice, light, low-profile tray that holds the battery and most of the other electrical components that were under the seat originally.


The seat pan is next. Stay tuned.